
Last updated November 17, 2026
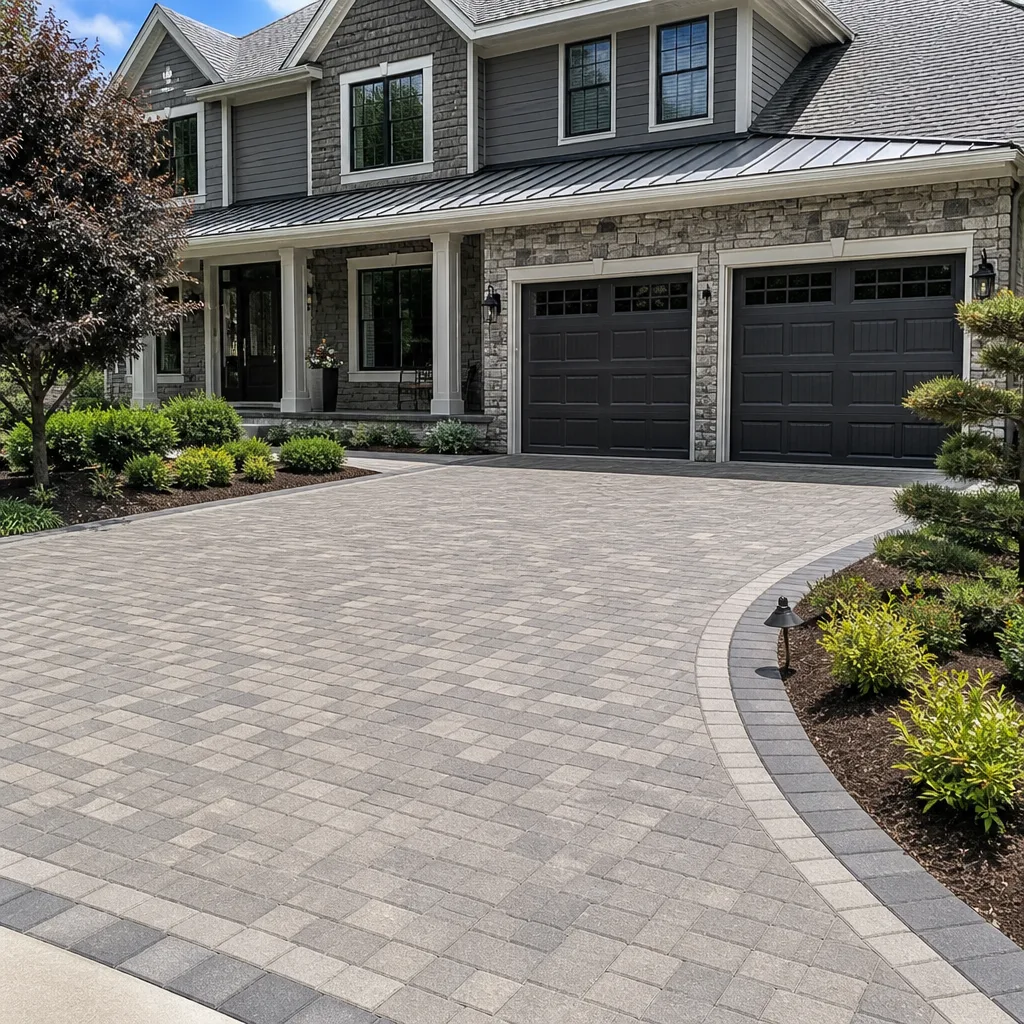 Driveway & pavers
 Kitchen remodeling
 Bathroom remodeling
 Home additions & ADU
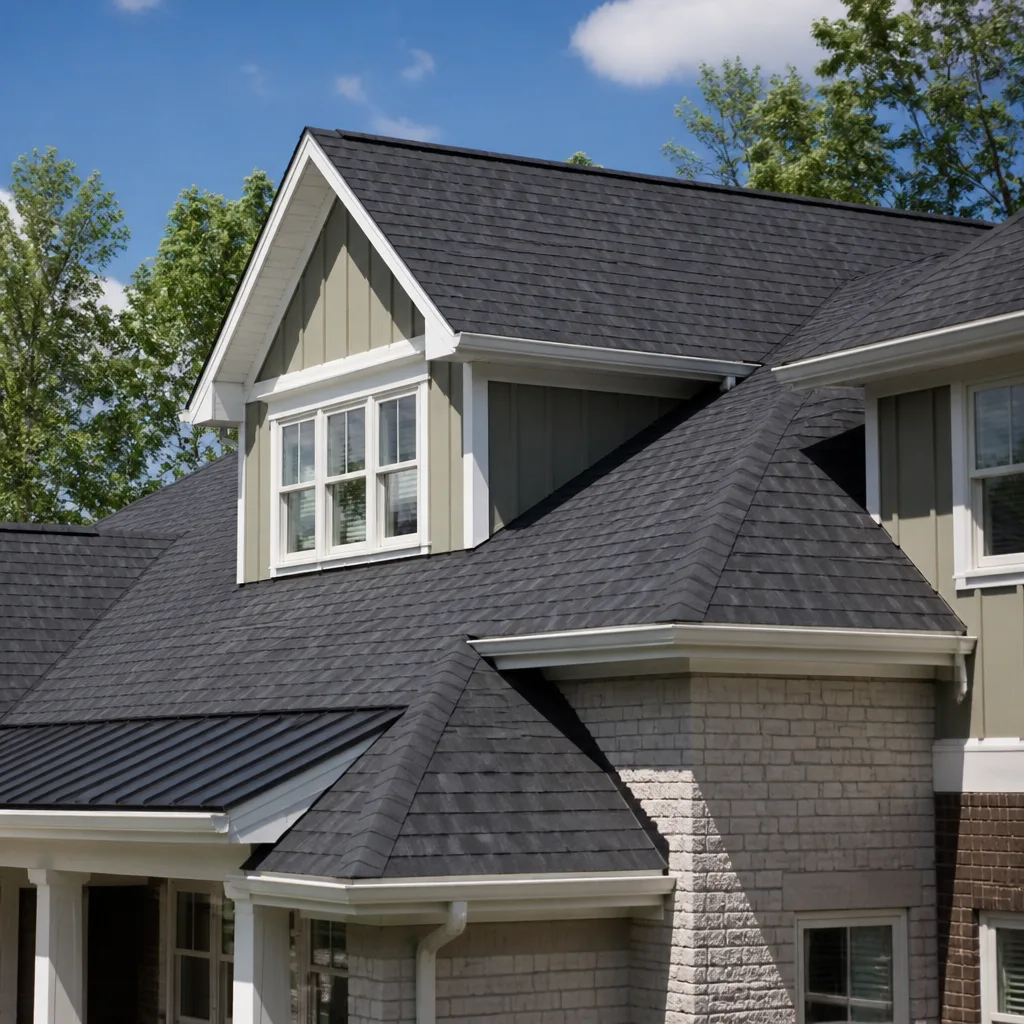 Roofing
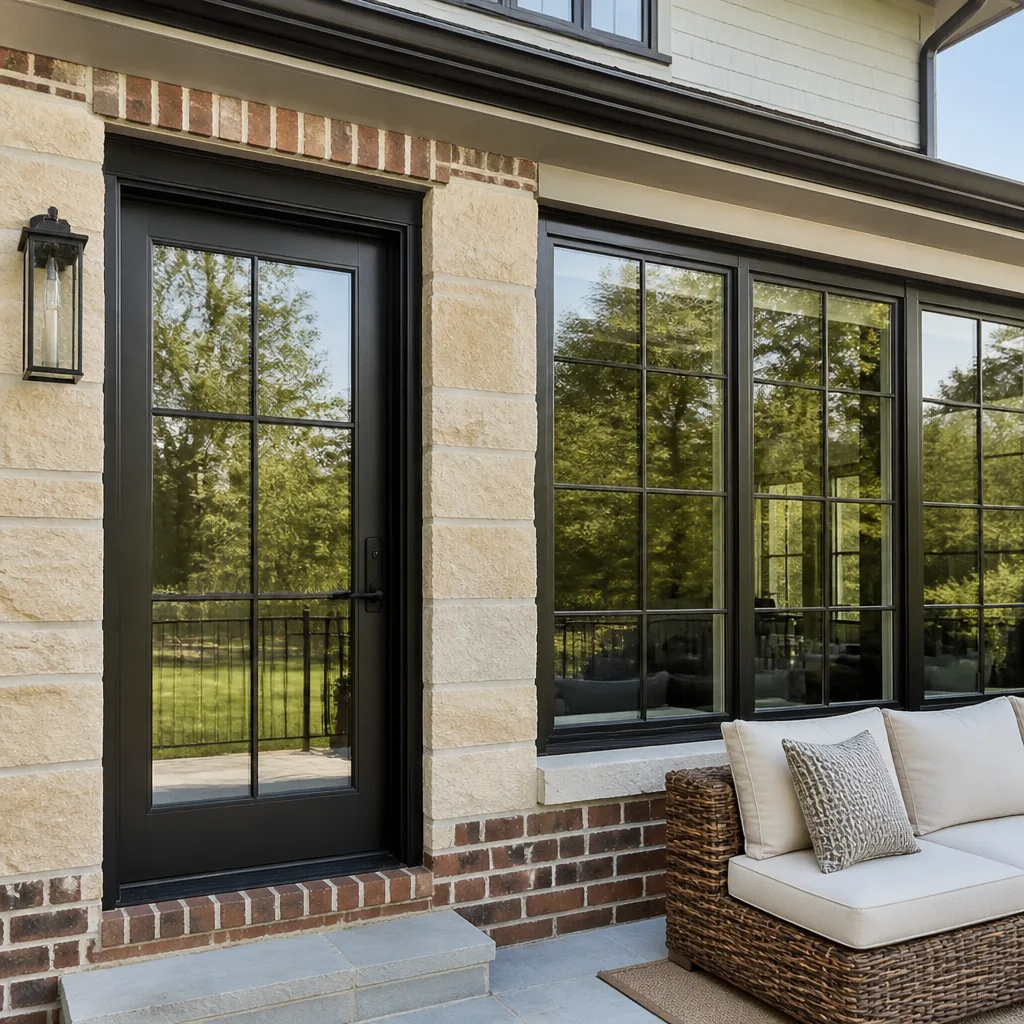 Windows & doors
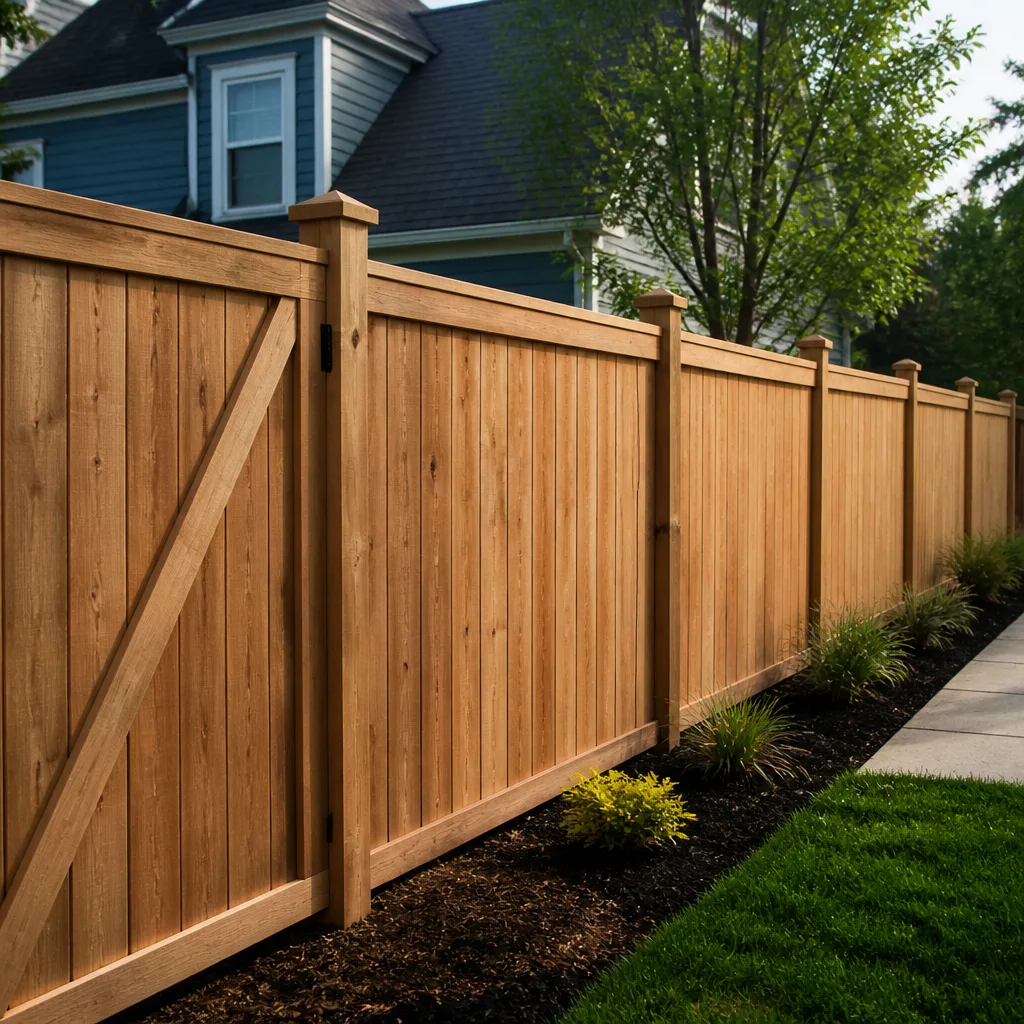 Fence
Free written scope consultation - allowances, timeline, and change-order rules on paper before a single trade is scheduled
Driveway & Pavers Troubleshooting in Allen: Common Problems and How to Fix Them
If your pavers are sinking in the same spot every year, replacing those pavers is the wrong fix. The problem is six inches below the surface. In our experience across Allen, most driveway and paver failures trace back to two root causes: a base that wasn’t compacted in lifts, and edge restraint that was never built to take a load. The pavers themselves are almost never the culprit. This guide teaches you to diagnose before you spend – how to tell a base failure from a paver failure, why Allen’s 100°F summers wreck polymeric sand that’s installed in direct sun, what makes pavers creep outward at the driveway edge, and which repairs you can reasonably handle yourself. It’s written for Allen homeowners who’d rather understand the problem than pay twice for it.
Styles & brands we work with
- Kitchen remodeling
- Bathroom remodeling
- Home additions & ADU
- Roofing
- Windows & doors
- Driveway & pavers
- Fence
Quick Answer
Most driveway paver problems in Allen are caused by inadequate base compaction or missing edge restraint, not by the pavers. Sinking sections, loose joints, and outward creep almost always point to what’s underneath. Surface issues like efflorescence, staining, and spalling are usually separate cosmetic problems with much cheaper fixes. The right repair depends on which of those categories you’re actually looking at. Diagnose first, and you’ll avoid paying to replace perfectly good pavers sitting on a foundation that needed the work.
Table of Contents
- How Do You Tell a Base Failure From a Paver Failure?
- Why Do Pavers Sink in the Same Spot Every Year?
- Why Does Polymeric Sand Wash Out in Allen’s Summer Heat?
- What Causes Edge Creep and How Is It Stopped?
- Efflorescence vs. Staining vs. Spalling: Which One Do You Have?
- Which Paver Repairs Are Legitimate DIY?
- Weeds, Moss, and Ant Hills Between Pavers
- Drainage and Water Pooling on Allen Driveways
How Do You Tell a Base Failure From a Paver Failure?
A paver failure is a problem with the paver itself: a cracked unit, a chipped corner, a spalled face. A base failure is a problem with what’s under the pavers, and it shows up as movement in a section rather than damage to individual stones. That distinction decides the whole repair. If you replace the paver and the base is the real issue, the new paver sinks too, and you’ve paid for the same problem twice.
Here’s how to read the evidence in five minutes with your eyes and a straightedge.
- Look at the pattern of damage. One cracked paver is likely impact damage. A depression spanning several pavers is a base issue.
- Lay a four-foot level (or a straight board) across the area. Rocking or visible dip means settlement underneath.
- Check the joints. Joint sand that keeps washing out in one area, without any other damage, often means water is flowing under the surface, not across it.
- Walk the edge. Feel the outer row of pavers. If they wobble or have crept past the intended line, the edge restraint has failed or was never adequate.
- Look at the aggregate course. If you can lift a paver and see loose, uncompacted material instead of a hard, dense setting bed, the base wasn’t built right.
In Allen, the pattern we see most is settlement in the first few feet of a driveway where it meets the apron. That area takes the heaviest concentrated load from turning tires and often sits over the least-compacted part of a hurried install. If a section only drops at the entrance, you’re looking at a base problem, not a paver problem. Learning to read these signals before you call anyone is the most valuable thing in this guide. Our driveway & pavers team sees these calls often enough to know that a homeowner who can describe what they’re seeing gets a faster, more accurate estimate.
Why Do Pavers Sink in the Same Spot Every Year?
Because the base under that spot was never dense enough to carry the load, and patching the surface doesn’t change that. A proper paver base is compacted in lifts – typically four inches at a time – with the aggregate brought up to near-full density before the next layer goes on. When a contractor dumps the whole base and compacts it once, the bottom stays loose. Traffic works it down over a season, and the depression reappears.
The annual cycle homeowners describe – sink, top with sand, sink again next year – is the signature of an uncompacted base settling gradually. Filling the low spot with sand or screening is a cosmetic fix that lasts one season at best, because the underlying material is still moving beneath it.
Allen’s swelling clay soils make this worse. Clay expands when it’s wet and shrinks as it dries, and the wet-to-dry swing across a Texas summer puts real movement into the subgrade. A base that’s built and compacted correctly can bridge that movement. A loose base follows the clay down and back up, and you feel every inch of it.
What the real repair involves
Fixing a base failure means pulling the affected section, removing the failed aggregate, re-grading the subgrade, and rebuilding the base in compacted lifts with the correct aggregate gradation. Then the setting bed goes down and the pavers go back on. It’s a bigger job than a surface patch and it’s the only one that stops the cycle. We specify base materials and rebuilding methods with an eye to Allen’s soil and summer conditions because a base that works in a drier climate doesn’t automatically work here.
What the surface patch actually does
Topping off a sinking section with new joint sand hides the problem for a season. It doesn’t stop further settlement, it doesn’t restore the interlock, and if the area is trafficked, the new loose material migrates out of the depression quickly. It’s a reasonable short-term measure to get you through a few months, but it’s not a repair.
Why Does Polymeric Sand Wash Out in Allen’s Summer Heat?
Because polymeric sand that’s put down in direct sun at 100°F can cure before the water fully activates the binder throughout the joint, and the result is a weak crust that blows or washes out within weeks. Allen summers routinely cross the century mark, and pavement in full sun runs considerably hotter than the air temperature. Polymeric sand is a water-activated product: you sweep it into the joints, wet it thoroughly to set off the polymerization, and leave it to cure. The window between “wet enough” and “already curing” gets very short on hot days.
When sand cures incorrectly, the surface looks fine for a few weeks and then the joints start to fail – the sand loosens, blows up under tire traffic, or washes away in the first decent rain. The binder never set fully through the joint depth.
Why this keeps happening in Allen
- The product is installed in direct sun on an afternoon when pavement surface temperatures are high enough to flash-cure a thin water application.
- The joint isn’t deep enough to hold the sand. Shallow joints hold a weak layer that fails fast.
- The sand is overwatered in a rush, or under-watered because the crew is worried about wash-out and stops early.
- Rain arrives before the cure is complete, and the softening joint gets a test it can’t pass.
- The wrong product is chosen for the exposure. Joint sand for a shaded walkway and joint sand for a driveway that faces full west sun aren’t interchangeable.
How it’s fixed properly
Failed sand comes out. The joints are cleaned to the correct depth, and in many cases a harder-setting joint material designed for full-exposure driveways is the better choice. Installation happens with attention to surface temperature and water management, not squeezed into a hot afternoon because that’s when the crew happened to be there. Curing into the evening with the right product matters more than finishing by lunch.
If you’re seeing the same washout year after year, stop replacing the sand and start questioning the product and the timing. That’s a planning problem, not bad luck.
What Causes Edge Creep and How Is It Stopped?
Edge creep is pavers migrating outward past the intended perimeter, and it happens because the edge restraint can’t resist the lateral load pushing against it. Every time a wheel rolls across a paver surface, it forces pavers outward from under the tire. Interlock resists it in the middle of the field. At the edge, something has to hold that load, and if the restraint isn’t anchored into the base, the whole field slowly slides apart.
You can spot edge creep from the driveway itself. The outer row bulges or fans out. Joints widen progressively toward the edge. In advanced cases the pavers start to lift and separate at the corner. Once the field opens up, joint sand drains away and the interlock fails across the whole area.
The restraint systems that actually hold
- Spike-and-anchor edge restraint. A rigid extruded profile that’s pinned into the compacted base with long spikes. This is the standard for a residential driveway that has to take vehicle loads.
- Concrete curb restraint. A cast-in-place curb along the pavement edge. Heavier, more permanent, and appropriate where the edge carries real traffic or turns.
- Aluminum or steel edge profile. A rigid metal edge that spreads the lateral load. Effective when properly anchored, but the anchoring is what matters.
The most common edge creep cause isn’t the wrong restraint – it’s no restraint or restraint that was laid on top of a loose base and never anchored to anything. A plastic edge strip pressed into sand behind an uncompacted base does nothing. The edge system has to be pinned into a base that can hold a fastener, and that’s a detail you can’t inspect once the driveway’s in.
Fixing edge creep usually means lifting the outer rows, correcting and compacting the base, resetting the restraint properly, and re-laying that band. Leaving it means replacing a sector of the driveway in a year or two. If the creep has opened the field, the repair expands well past the edge itself. Our Whitman Contractors team builds every hardscape edge with vehicle traffic in mind for exactly this reason.
Efflorescence vs. Staining vs. Spalling: Which One Do You Have?
They look similar from ten feet away and they’re completely different problems with different urgency. Efflorescence is a white powdery bloom of mineral salts that have migrated to the surface and dried there. Staining is discoloration from something external – rust, oil, organic growth, or metal transfer. Spalling is the physical breakdown of the paver face, where the top layer flakes or pops off, and it’s the one that indicates a real failure.
Efflorescence
White, hazy, and often seasonal. It’s salt from the concrete moving out through moisture, and it’s cosmetic. It doesn’t harm the paver, it usually fades with weathering, and a proper efflorescence cleaner removes it. It’s more common in humid stretches and after heavy rain cycling in Allen. Not a repair problem.
Staining
Rust from a metal edging or garden furniture dragged across the surface, oil drips from the car, or black organic spots from decaying leaves. Each responds to a different cleaner, and identifying the source is half the fix. Remove the metal item that’s rusting, and the staining doesn’t return. These are cleaning jobs, not repair jobs, and most respond to the right treatment.
Spalling
The paver face flakes or pops off in one or more units, exposing the rough aggregate underneath. That’s a manufacturing defect, a freeze issue (not much of one in Allen’s climate), or damage from something heavy and concentrated. Isolated spalling on one pavers is a splice-and-replace. Spalling across a wide area suggests a product problem and a warranty conversation. This is the one that actually needs replacement, and only of the affected units.
How to tell them apart
- Wipe it with a damp rag. If the discoloration lifts into a white powder, it’s probably efflorescence.
- Look at the texture. If the surface feels pitted or you can see bare aggregate where the face flaked off, it’s spalling.
- Look for a source. A rust line tracing back to a metal edge is staining, not efflorescence.
- Watch over time. Efflorescence comes and goes with weather. Spalling gets worse. Staining stays the same once the source is gone.
Getting the diagnosis right saves money. Cleaning a spall or sealing over a bad stain makes it look worse. And paying for new pavers to fix efflorescence is simply money spent on the wrong problem.
Which Paver Repairs Are Legitimate DIY?
Cosmetic issues and single-paver swaps are reasonable DIY projects for a careful homeowner. Base failures, edge restraint rebuilds, and anything that involves reconstructing a trafficked section are not – not because they’re hard to understand, but because the compaction and restraint details are what make the repair hold, and those are hard to get right without the right equipment.
Reasonable to handle yourself
- Efflorescence cleanup. With an appropriate cleaner and patience, this is a home task.
- Surface stains. Matching the cleaner to the stain source is manageable.
- Weed pulling. Hand-pulling between pavers is fine; the joint-failure diagnosis underneath is what matters.
- A single cracked or spalled paver swap. If the base under that one unit is solid, lifting and resetting one paver is achievable. Keep a few extra units from the original installation for this.
- Joint sand top-up. As a short-term measure, topping off a joint is fine. It’s not a fix for washout, but it buys time.
Better left to a professional
- Pulling and resetting a full section. When a section has settled as a block, the base under it has to come out and be rebuilt in compacted lifts. That’s a construction job, and a base built without proper equipment fails again.
- Installing or replacing edge restraint. The anchoring has to go into a base that can hold it. If the base is compromised, restraint alone doesn’t work.
- Re-grading or re-sloping for drainage. Getting the fall and cross-fall right so water moves away from the house is a design-and-build task.
- Polymeric sand installation in full exposure. The heat and curing variables matter, and getting the surface temperature and water right is worth the expertise.
- Any repair where the same section has already failed twice. That’s a signal the underlying problem was never addressed, and the third attempt should start with a proper diagnosis.
The honest line: if three or fewer pavers are involved and the base under them is solid, DIY is reasonable. If a section moves as a group, you’ve moved past the DIY boundary. Diagnosing first means not paying for a repair that has no chance of holding.
Weeds, Moss, and Ant Hills Between Pavers
Weeds coming through the joints are a symptom, not the problem. Something opened the joint – washed-out sand, an unsealed joint, or movement in the base – and the weeds are exploiting the gap. Herbicide alone doesn’t fix the cause, and it never has.
Why Allen pavers get weedy
- Polymeric sand has failed, opening the joint for seed to enter.
- Joint depth is too shallow, giving the sand less material to hold.
- Water is pooling on the surface because drainage is off, keeping the joint damp.
- Edge creep has opened the field, creating wider joints throughout.
- A paver near a planting bed sits lower than the adjacent soil, catching runoff and weed seed.
The rule of thumb: if weeds are concentrated at the edges and one corner of the driveway, look at edge restraint and drainage. If they’re scattered across the entire field, the joint sand has failed across the whole surface. If they’re only in a bed-adjacent band, that’s a grade issue more than a paver issue.
The fix that lasts
Weeds come out by hand, the joints are cleaned to depth, and the joints are re-filled with the correct material installed correctly. If the base has moved and opened the field, that gets addressed first – otherwise the weeds are back within a season. Moss, similar logic: persistent moss means persistent moisture. Fix the water, and the moss doesn’t get a foothold.
Ants are the most common nuisance we hear about in Allen. They tunnel up through the joint material, kicking sand out at the surface and creating a small mound. Treating the colony deals with the ants. If they’ve displaced enough joint material, top it off. If they keep returning, check that the base hasn’t loosened enough to let them work freely. Ants rarely tunnel through a fully compacted base; they tunnel through loose material.
Drainage and Water Pooling on Allen Driveways
Water that stands on a driveway after rain in Allen is telling you the surface slope is off, the base has settled into a low spot, or the discharge path is blocked. All three are fixable, and ignoring them makes every other problem on this list worse.
Why water pools
- Settlement without a re-slope. When a section settles, the surface no longer drains to the original low point. Water finds a new low and stays.
- Compacted clay under the base. Allen’s clay holds water instead of letting it infiltrate. If the surface doesn’t shed water, it stands.
- Blocked drainage path. Downspouts discharging onto the driveway, mulch or soil bermed against the pavement edge, or a failed edge restraint trapping water on the surface.
- Insufficient cross-fall. A driveway needs slope away from the house and enough cross-fall to move water off the width. If the cross-fall is flat, water pools in the middle.
- Failed joint sand. Wide-open joints let water sit in the joint channels and soften the base progressively.
What a repair involves
Standing water gets a proper evaluation: initial slope, s
See the difference
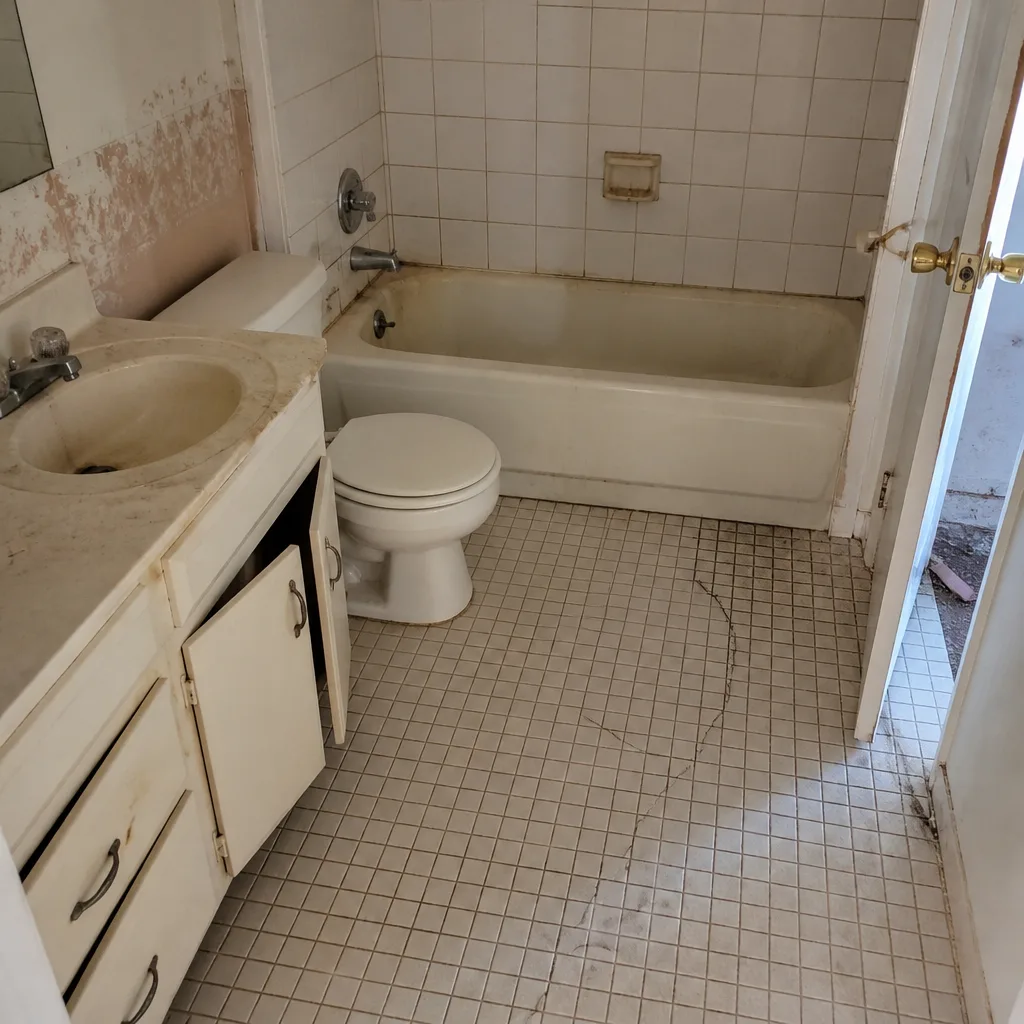 Before
 After
 Before
 After
 Before
 After